mirror of
https://github.com/yeasy/docker_practice.git
synced 2025-11-29 03:41:36 +00:00
Drone
基于 Docker 的 CI/CD 工具 Drone 所有编译、测试的流程都在 Docker 容器中进行。
开发者只需在项目中包含 .drone.yml 文件,将代码推送到 git 仓库,Drone 就能够自动化的进行编译、测试、发布。
本小节以 GitHub + Drone 来演示 Drone 的工作流程。当然在实际开发过程中,你的代码也许不在 GitHub 托管,那么你可以尝试使用 Gogs + Drone 来进行 CI/CD。
Drone 关联项目
在 Github 新建一个名为 drone-demo 的仓库。
打开我们已经 部署好的 Drone 网站 或者 Drone Cloud,使用 GitHub 账号登录,在界面中关联刚刚新建的 drone-demo 仓库。
编写项目源代码
初始化一个 git 仓库
$ mkdir drone-demo

$ cd drone-demo

$ git init

$ git remote add origin git@github.com:username/drone-demo.git
这里以一个简单的 Go 程序为例,该程序输出 Hello World!
编写 app.go 文件
package main

import "fmt"

func main(){
    fmt.Printf("Hello World!\n");
}
编写 .drone.yml 文件
kind: pipeline
type: docker
name: build
steps:
- name: build
  image: golang:alpine
  pull: if-not-exists # always never
  environment:
    KEY: VALUE
  commands:
    - echo $KEY
    - pwd
    - ls
    - CGO_ENABLED=0 GOOS=linux go build -a -installsuffix cgo -o app .
    - ./app

trigger:
  branch:
  - master
现在目录结构如下
.
├── .drone.yml
└── app.go
推送项目源代码到 GitHub
$ git add .

$ git commit -m "test drone ci"

$ git push origin master
查看项目构建过程及结果
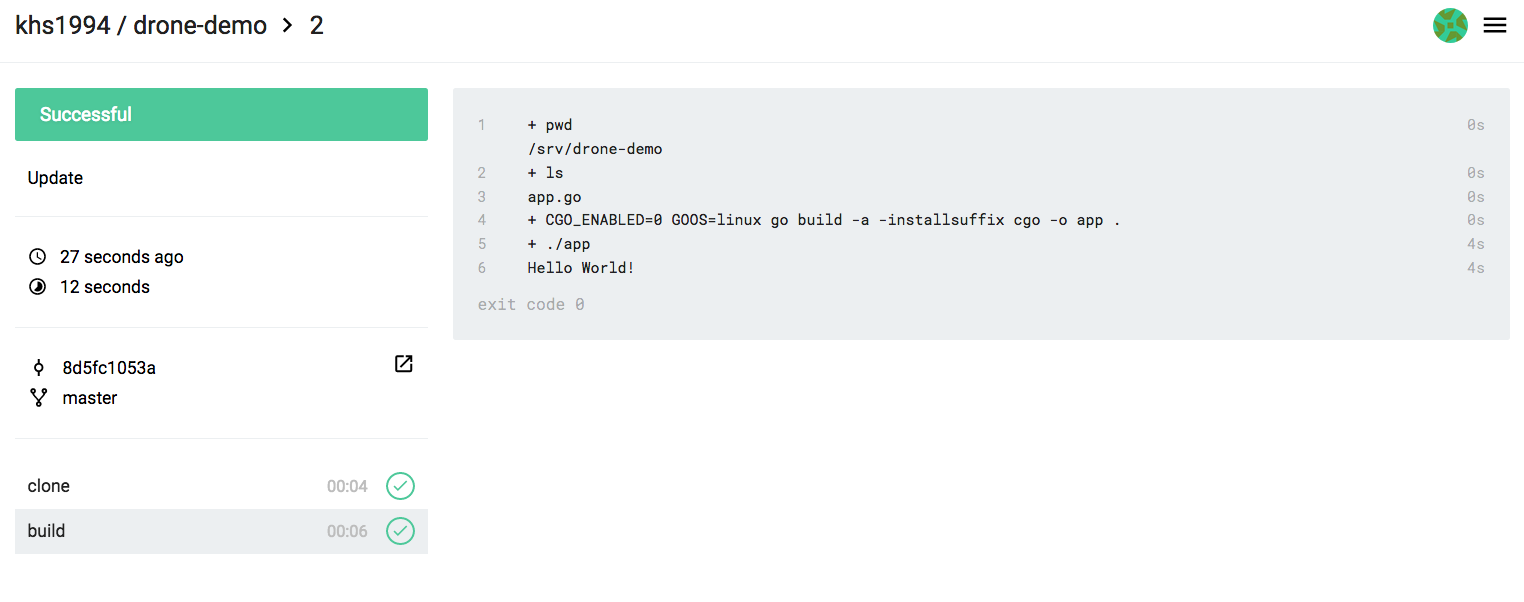
打开我们部署好的 Drone 网站或者 Drone Cloud,即可看到构建结果。
当然我们也可以把构建结果上传到 GitHub,Docker Registry,云服务商提供的对象存储,或者生产环境中。
本书 GitBook 也使用 Drone 进行 CI/CD,具体配置信息请查看本书根目录 .drone.yml 文件。
